 how-to
Avoid Damaged Goods in Liquidation Pallets: A 2026 Guide
Table of Contents
- Why Damaged Goods in Liquidation Pallets Cost You Real Money
- Build Your Liquidation Pallet Buying Checklist Before Purchase
- Read the Liquidation Pallet Manifest Like a Pro
- Understanding Liquidation Pallet Condition Codes
- Inspect and Document on Arrival: Your Damage Defense
- Prevent Liquidation Pallet Shipping Damage in Transit
- File Claims and Know Your Buyer Protection Rights
- Frequently Asked Questions
Last Updated: October 21, 2026
Why Damaged Goods in Liquidation Pallets Cost You Real Money
Damaged goods liquidation pallets can turn a profitable deal into a loss.
The problem runs deeper than a few bad items. When you don't inspect before purchase or verify the seller's track record, you're betting blind.
This guide covers exactly how to avoid this trap. We'll walk you through the steps that separate profitable resellers from those who keep getting burned.
The real cost isn't just the unsellable items.
Build Your Liquidation Pallet Buying Checklist Before Purchase
Before you bid on or buy a single pallet, you need a checklist. This checklist filters out risky sellers and unrealistic deals before your money is at stake.
Verify the seller's track record and buyer protection policies
Start by researching the seller. How long have they been in business? Do they have customer reviews or feedback ratings?
Check their buyer protection policy. Do they accept claims for damaged inventory? What's their timeframe for filing a claim? Some sellers offer full refunds on damaged pallets. Others refuse claims entirely. That difference matters.
Ask direct questions before buying:
- What percentage of items are typically new versus used?
- Do they accept damage claims and for how long after delivery?
- Can they provide references from other resellers?
- Do they inspect pallets before selling, or is it "as-is"?
A seller who answers these questions clearly is more trustworthy than one who dodges them.
Request detailed product categories and condition expectations
Don't accept vague descriptions like "mixed merchandise" or "general goods." Ask the seller to break down exactly what's in the pallet.
Request specifics:
- Product categories (electronics, clothing, home goods, etc.)
- Approximate percentage of new versus used items
- Known damage or issues (cosmetic damage, missing boxes, etc.)
- Whether items are customer returns, overstock, or closeouts Detailed documentation regarding these conditions provides a necessary foundation for assessing product quality, particularly when dealing with the complexities of furniture inventory.
This matters because a pallet of returned electronics has a much higher damage rate than a pallet of overstock clothing. A pallet of water-damaged items from a warehouse flood is worthless.
If the seller won't provide this detail, that's a red flag. Move on to another pallet.
Read the Liquidation Pallet Manifest Like a Pro
The damaged goods liquidation pallets manifest is your roadmap. It lists what's supposed to be in the pallet, condition codes, and quantities. Most resellers skim it. You need to read it like a detective.
Decode condition descriptions and red flags
Every item in a manifest gets a condition code. These codes vary by seller, but common ones are:
- New/Sealed: Brand new, unopened, original packaging intact
- Like New/Excellent: Used minimally, no visible damage
- Good: Light wear, fully functional, minor cosmetic issues
- Fair: Moderate wear, functional but visible damage
- Poor/Salvage: Heavy damage, may not be functional, parts-only
Understanding liquidation pallet condition codes helps you calculate realistic resale value. A "Good" condition item might sell for 40% of retail. A "Fair" item might sell for 15%. A "Poor" item might not sell at all.
Red flags in manifests:
- Large percentages marked "Poor" or "Salvage"
- Vague descriptions like "misc" or "assorted"
- Items with no condition code listed
- Categories that don't match the pallet description
If more than 20-30% of items are marked "Poor" or "Salvage," the pallet's profit margin shrinks fast.
Calculate expected sellable inventory from manifest data
Work through the math before you buy. Take the manifest and categorize items by condition:
- Count New and Like New items (likely 80-100% sellable)
- Count Good items (likely 50-80% sellable)
- Count Fair items (likely 20-50% sellable)
- Count Poor items (likely 0-20% sellable)
Multiply each group by its realistic resale rate. If a pallet has 100 items and breaks down as 20 New, 30 Good, 30 Fair, and 20 Poor, your sellable inventory is roughly 20 + (30 × 0.65) + (30 × 0.35) + (20 × 0.10) = about 60 items.
This calculation is the difference between a profitable pallet and a loss. Do it before you commit money.
Understanding Liquidation Pallet Condition Codes
Condition codes determine resale value more than anything else. Misreading them costs you thousands in lost profit.
What each condition grade means for resale value
New/Sealed items sell closest to retail price.
Like New/Excellent items also move fast. Expect 60-80% of retail. Buyers trust these because they look untouched.
Good condition is where most liquidation inventory lives. These items work perfectly but show signs of use.
Fair condition items have visible wear or minor damage. Resale value is 15-40% of retail.
Poor/Salvage items are parts-only or project pieces. Resale value is often 0-15% of retail.
Distinguishing salvageable, repairable, and unsellable merchandise
Not all damaged goods are worthless. Some damage is cosmetic. Some is fixable. Some is permanent loss.
Salvageable items have cosmetic damage only. A dented box, a small scratch, a faded label.
Repairable items need work but are worth the effort.
Unsellable items cost more to fix than they'll ever sell for. A water-damaged electronics pallet.
When you inspect a pallet, sort items into these three buckets immediately. This tells you your real profit margin.
Inspect and Document on Arrival: Your Damage Defense
The moment your pallet arrives, you enter a critical window. What you do in the first 24 hours determines whether you can file a claim if items are damaged.
Step-by-step inspection process
Step 1: Inspect the pallet packaging before opening
Look at the pallet itself. Are the boards cracked or splintered? Are nails loose or missing?
Document this with photos. Take wide shots of the pallet and close-ups of any damage.
Step 2: Check the manifest against the contents
Open the pallet and count items. Do you have the quantity listed in the manifest? Missing items should be noted immediately.
Step 3: Assess condition of each item
Open representative items from each category. Don't open everything (that defeats the purpose of buying sealed goods), but spot-check.
Step 4: Look for shipping damage
Shipping damage is different from pallet damage. Look for:
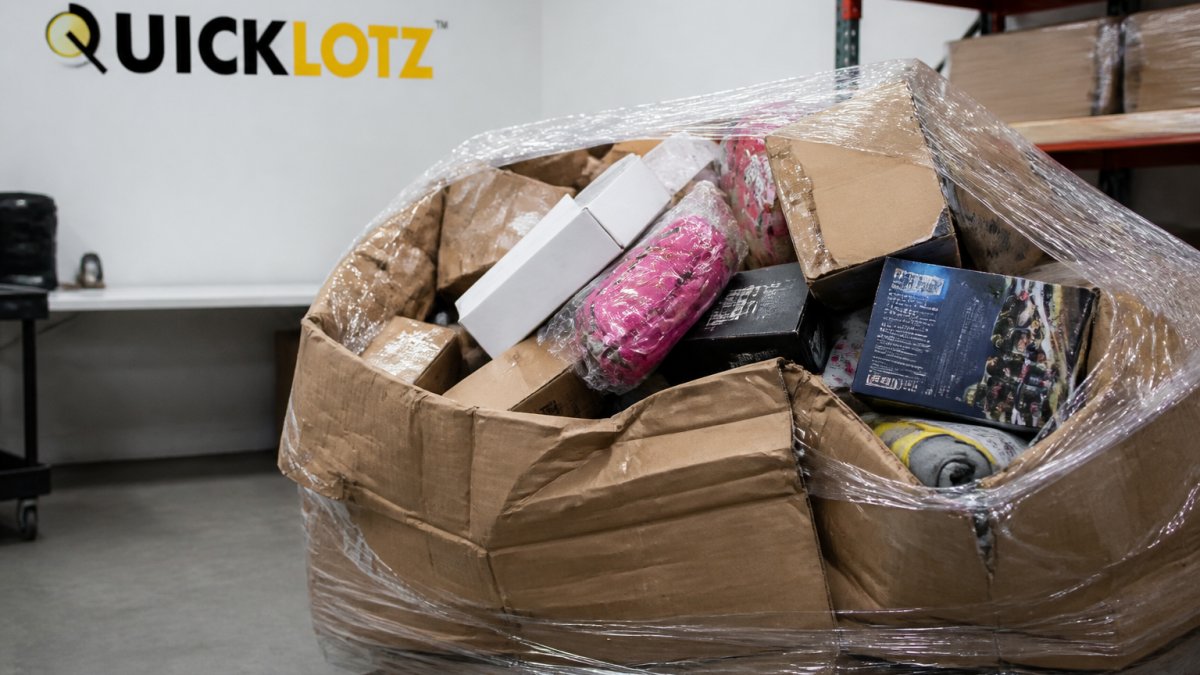
- Crushed or dented boxes
- Water stains or moisture
- Items that shifted and broke during transit
- Packaging materials that failed to protect contents
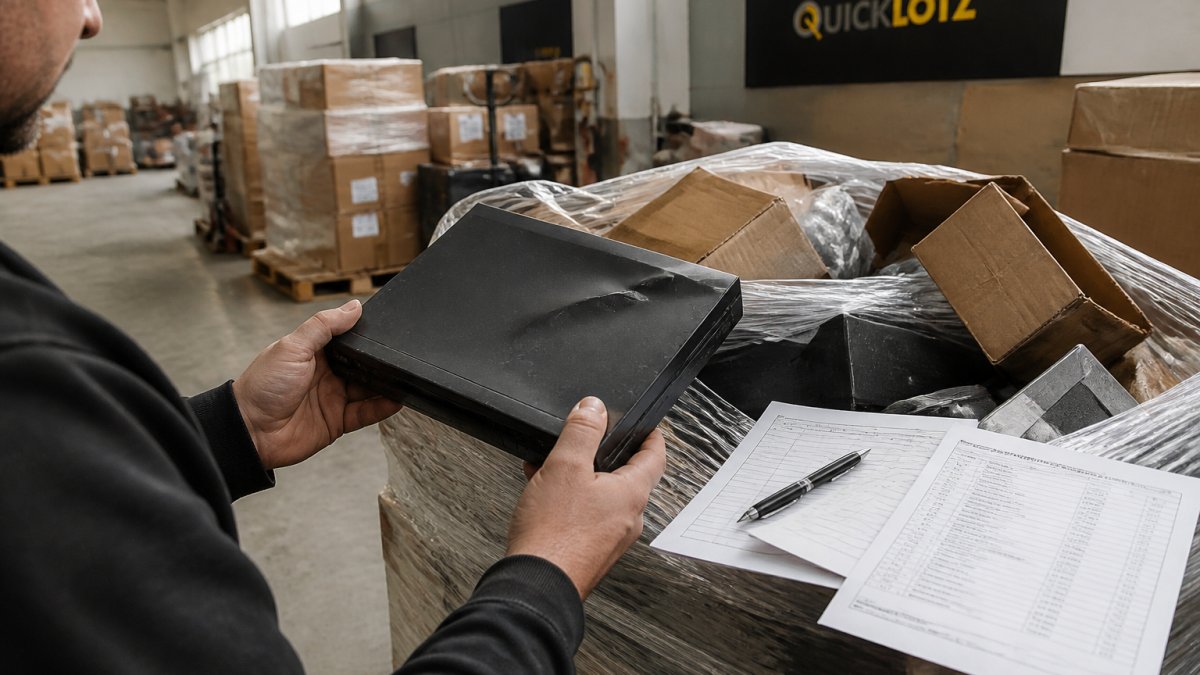
Photograph and document discrepancies immediately
Take photos of every discrepancy. Photo timestamps matter. They prove when you discovered the damage.
Photograph:
- Damaged items with visible defects clearly shown
- The manifest next to the actual items (proving what was promised versus what arrived)
- The pallet condition if it arrived damaged
- Any shipping damage to boxes or packaging
- Item serial numbers or barcodes for high-value items
Create a damage report document. List:
- Item description
- Condition code on manifest
- Actual condition received
- Type of damage (shipping, defective, missing parts, etc.)
- Whether the item is salvageable, repairable, or unsellable
This documentation is your proof if you need to file a claim. Without it, most sellers won't honor damage claims.
Prevent Liquidation Pallet Shipping Damage in Transit
Damage doesn't always happen at the warehouse. It happens during shipping. The carrier and packaging method matter more than most resellers realize.
Choose carriers and packaging that protect your investment
Not all carriers handle pallets equally. Freight carriers that specialize in palletized goods have equipment and experience that standard parcel carriers don't.
Ask the seller:
- What carrier will ship this pallet?
- Is it freight or parcel shipping?
- Does the quote include freight insurance?
- What's the carrier's damage liability limit?
Freight insurance costs money but protects you. If a pallet arrives damaged and you have no insurance, you're eating the loss. With insurance, you file a claim.
Also ask about packaging. Is the pallet wrapped in shrink wrap? Are items inside boxes or loose? Loose items shift during transit and break.
Inspect the pallet condition and packaging before accepting delivery
When the pallet arrives, inspect it before signing for delivery. This is critical. Once you sign, the carrier assumes you accepted the pallet in good condition.
Check:
- Are the boards intact or cracked?
- Is the shrink wrap torn or punctured?
- Are there visible dents or crushing on the pallet?
- Is there water damage or staining?
If you see damage, note it on the delivery receipt. Write "Received damaged" or "Pallet structure compromised" before signing.
If damage is severe, refuse the delivery. The carrier will take it back. You're not obligated to accept a damaged shipment.
File Claims and Know Your Buyer Protection Rights
If a pallet arrives damaged or contains more unsellable items than promised, you have options.
Most liquidation sellers offer a damage claim window, typically 24-72 hours after delivery.
To file a claim:
- Provide your order number and photos of damage
- Reference the manifest and explain the discrepancy
- State the percentage of items that are unsellable
- Request a refund or replacement
Some sellers offer partial refunds based on the percentage of damaged goods.
Keep all documentation.
If a seller refuses to honor a valid claim, you have recourse.
This is why buying from established sellers with clear policies matters.
Frequently Asked Questions
How can you tell if a liquidation pallet contains damaged goods before buying?
Request detailed manifest information from the seller listing specific product categories and condition codes. Ask about the defect rate or damage percentage for that lot. Review seller feedback and return policies. Many sellers offer photo previews or allow pre-purchase inspections. Cross-reference the manifest against the pallet's actual weight and dimensions, significant discrepancies signal potential damage or missing items. Condition codes like 'B' or 'C' grade indicate some damage; 'A' or 'new' means minimal defects. Always ask the seller directly about freight damage history and what percentage of items are typically unsellable in their lots.
What should you check on a liquidation pallet manifest before buying?
Verify the product categories match your resale channels and audience. Check the condition codes assigned to each category, these determine your actual profit margin. Look for unit counts and confirm they're realistic for the pallet size. Note any items marked as 'mixed,' 'assorted,' or 'unknown', these carry higher damage risk. Cross-check the total weight listed against the pallet's declared dimensions. Ask the seller if the manifest includes returns, overstock, or customer-damaged items, as these have higher defect rates. Confirm the manifest was created within 7 days of sale; older manifests may not reflect actual current condition.
What are liquidation pallet condition codes and what do they mean?
Condition codes standardize how sellers describe merchandise quality. 'A' or 'New' means unopened, original packaging, minimal defects. 'B' or 'Good' means used or minor cosmetic damage but fully functional. 'C' or 'Fair' means visible damage, missing parts, or functional issues but potentially repairable. 'D' or 'Poor' means significant damage, often unsellable without repair. Some sellers use percentage grades (e.g., '90% sellable'). Always ask your seller to define their specific code system, as standards vary. Condition codes directly impact your recovery rate, a pallet coded 'B' might yield 70-80% sellable inventory, while a 'C' pallet could drop to 40-50%. Document the codes on your liquidation pallet buying checklist before committing to a purchase.
What should you do if liquidation pallet shipping damage arrives greater than expected?
Document everything immediately upon delivery: photograph the damaged pallet exterior, broken boards, loose nails, and any visible product damage. Take photos of the shipping label and carrier name. Open and inspect contents while the carrier representative is present if possible, and note discrepancies on the delivery receipt. Within 24-48 hours, contact your seller with detailed photos and the manifest comparison showing what was promised versus what arrived. File a freight damage claim with the carrier simultaneously, keep tracking numbers and receipts. Most reputable liquidation suppliers have damage policies; some offer partial refunds or replacement pallets if damage exceeds a threshold (typically 15-25%). Check your payment method for chargeback options if the seller refuses to respond within 5 business days.
Avoiding damaged goods in liquidation pallets isn't about luck. It's about doing your homework before you buy, reading the manifest carefully, and documenting everything when the pallet arrives. The resellers who stay profitable are the ones who treat every purchase like a business decision, not a gamble. Start with a strong seller, verify condition expectations, and protect yourself with clear documentation. That process takes an hour per pallet but saves you thousands in losses.